- CSPro Getting Started Guide
- Introduction
- Installation
- CSPro Tutorial
- About the Tutorial
- Exercise 1: Create a Data Entry Application
- Exercise 2: Create the Data Dictionary
- Exercise 3: Create the Data Entry Forms
- Exercise 4: Enter Data
- Exercise 5: Tabulate Data
- Exercise 6: Modify the Table
- Exercise 7: Add Edits to the Data Entry Application
- Exercise 8: Run a Batch Application
Step 1: Create a Tabulation Application
(Exercise 5, Tabulate Data)
In this exercise we will perform simple cross tabulations of the data you entered in the previous exercise.
If you still have your data entry application open from previous exercises, close it now. Select File -> Close from the main menu. CSPro may prompt you to save changes. Select Yes.
We will now create a cross tabulation application using the Wizard, as we did previously.

- Select File -> New from the main menu, or click
 on the toolbar.
 - Select the Tabulation category and the Tabulation Application type and press OK.
- In the file open dialog box, enter MyTab as the file name for the application.
- Make sure you are located in the folder you created for these exercises (C:\CSProTutorial).
- Press Save.
- The next screen will ask you to select the Input Dictionary.
- Change the name to C:\CSProTutorial\MyDict.dcf.
- Press OK.
You are now ready to begin designing your tabulation.
When you have completed this step the screen should look something like:
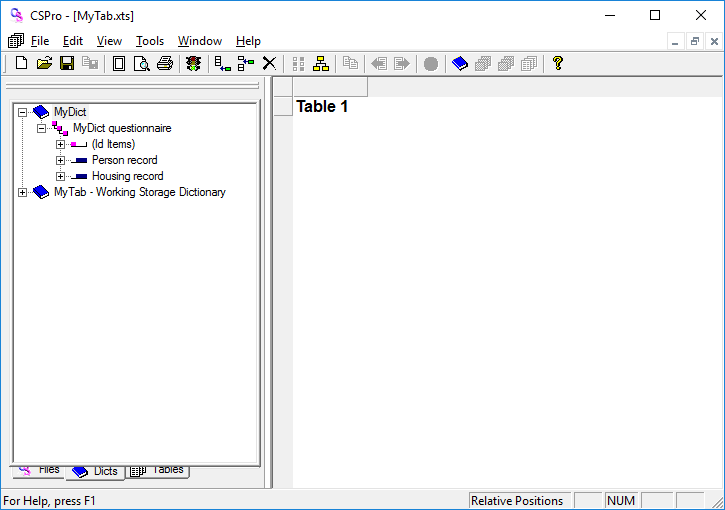
Continue to the next step: Step 2: Select Items to Tabulate.